

Mod Details
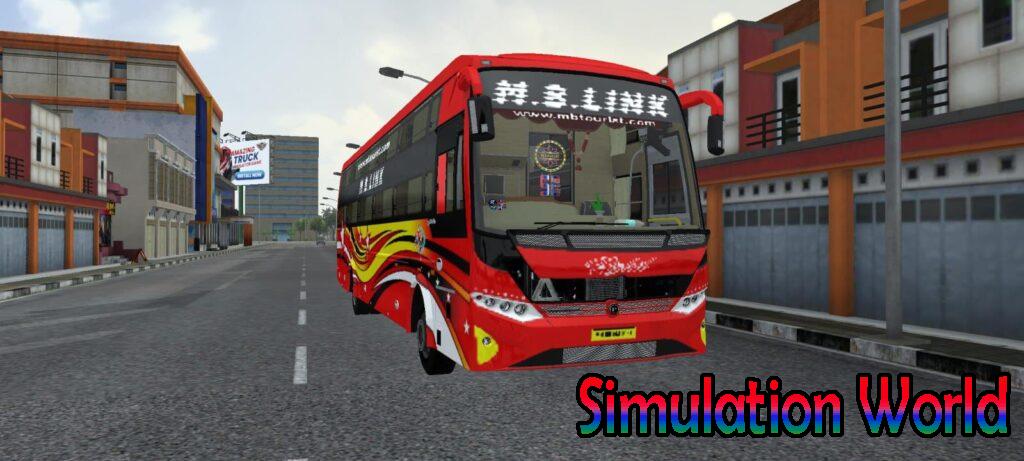
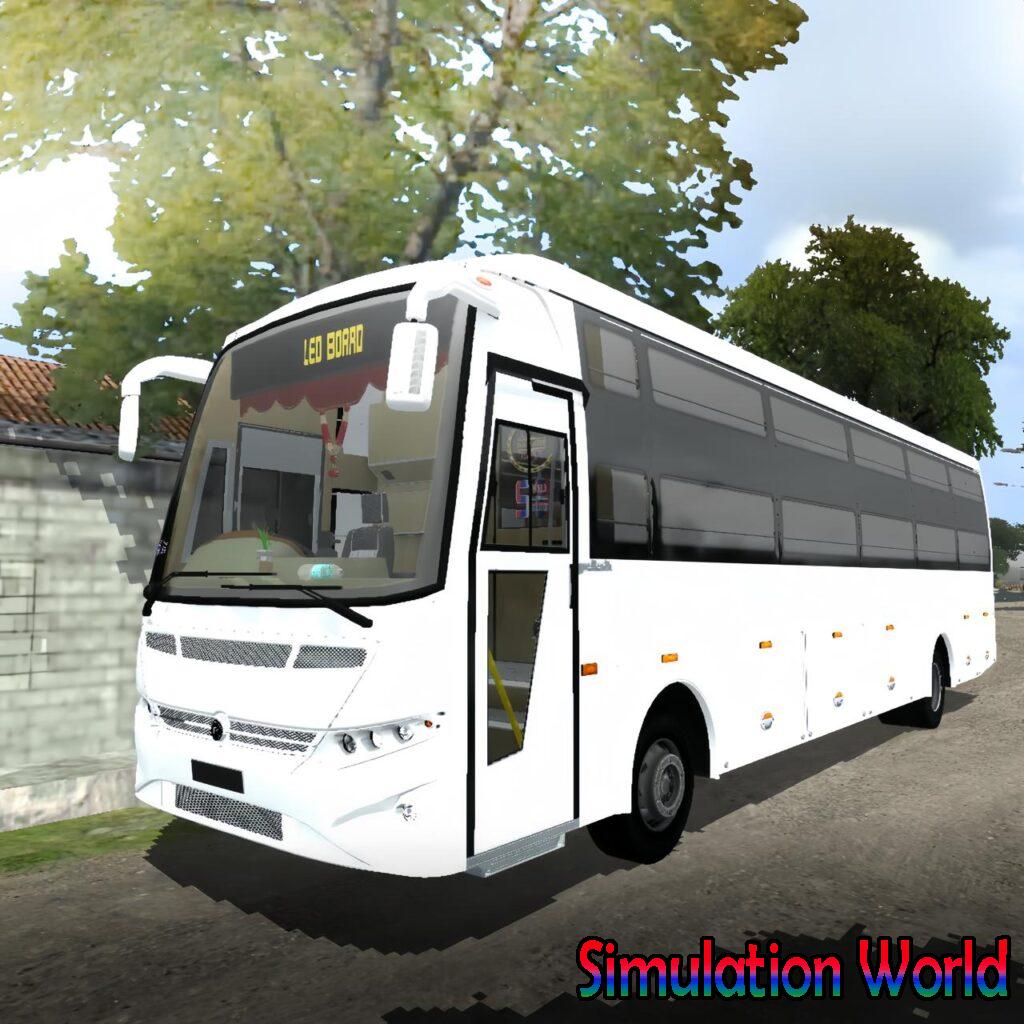
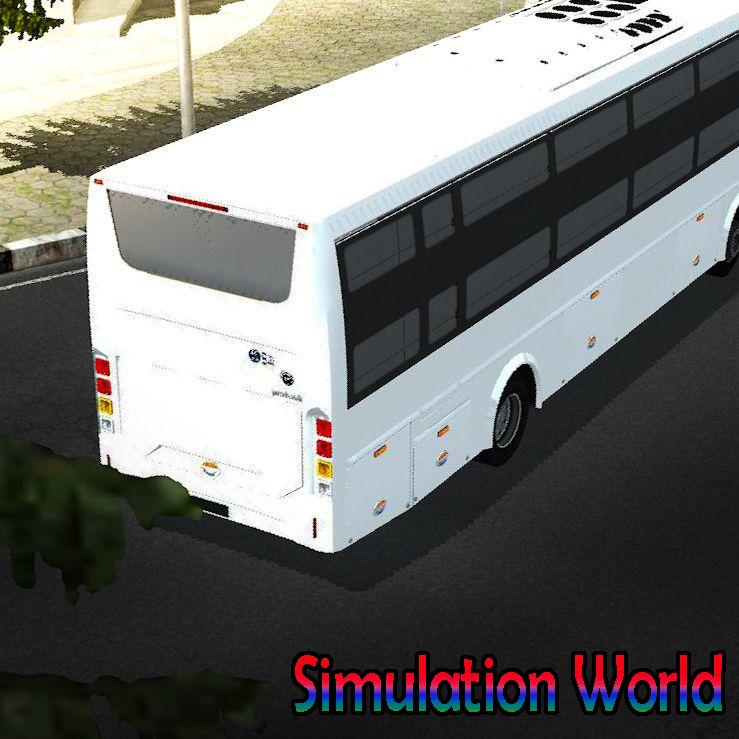
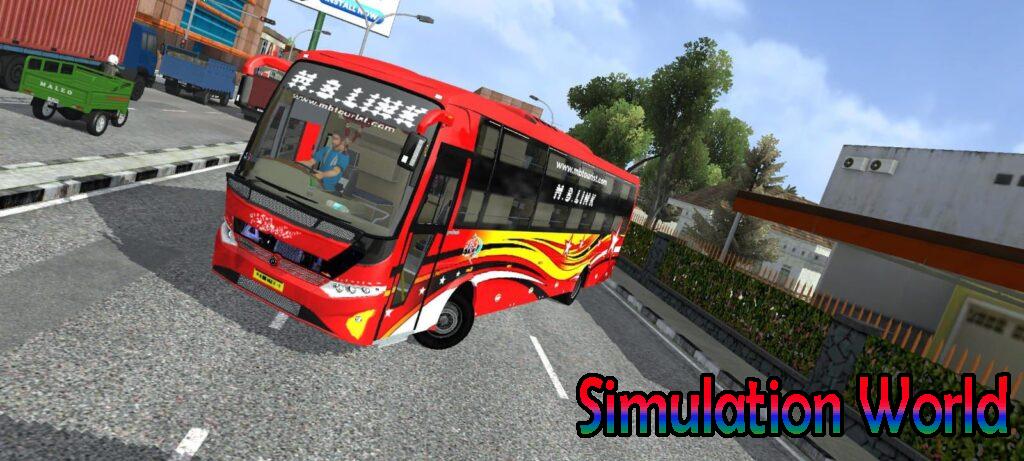
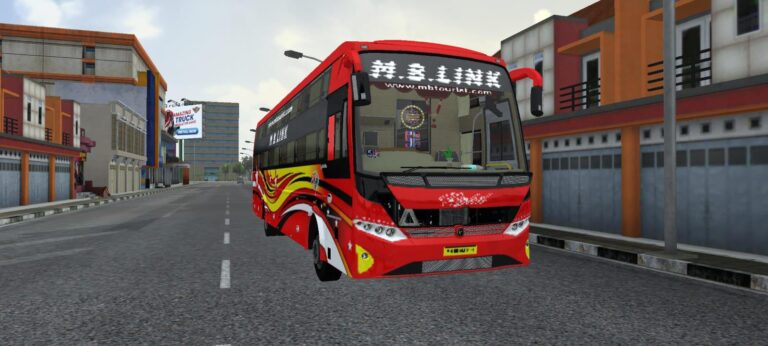
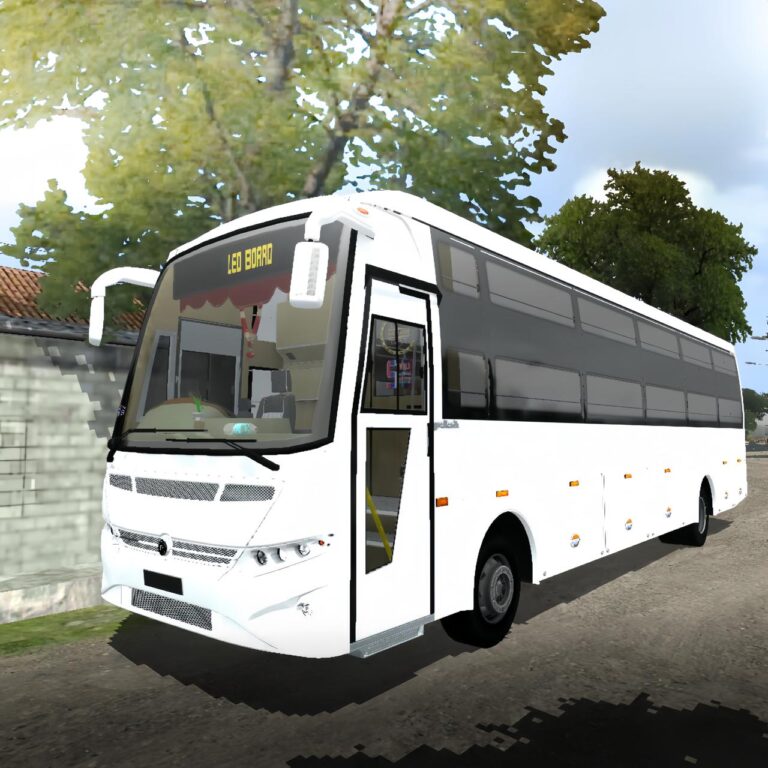
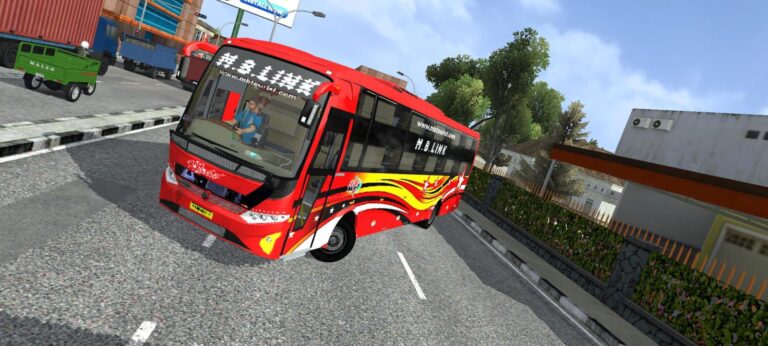
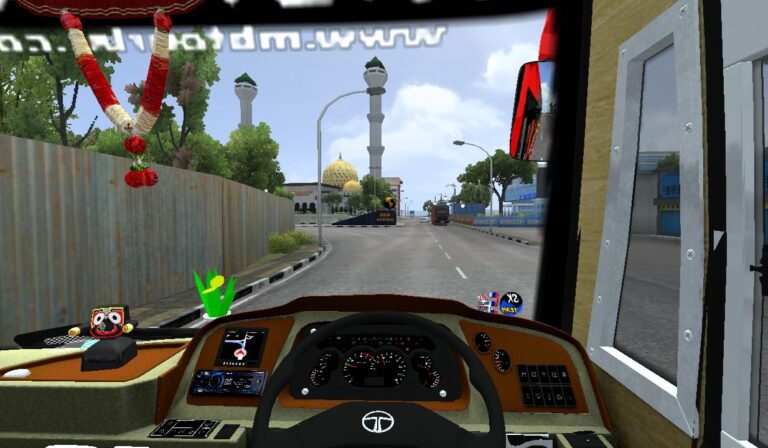
Information-
Author
Sk Gaming
Type
paid
Category
Downloads
1856
Size
Brand
Comments
0
Published On
March 26, 2026
Description -
🔵Features
Highly optimized model
2 types of chassis (leyland and tata)
Most realistic physics
Realistic scale model
Interior lightening
Optimized 3d Model
Curtain Animation
Conductor Animation
Engine Bay Animation
All Door animation
Interior Decoration And Animation
Realistic Instrument Cluster
Ao-Baked Textures
Video -
Installation Guide -
To install a mod in Bus Simulator Indonesia/Indian(BUSSID/IN), you generally need to download the mod file (usually ending in .bussidmod or .bussidvehicle) and move it into the game’s designated “Mods” folder using a file manager.
Step-by-Step Installation Guide
Download the Mod: Find a mod you like (bus, truck, or car)
Locate the File: Open a file manager app like ZArchiver and go to your Downloads folder to find the file.
Move the Mod File:
- Long-press the mod file and select Copy or Cut.
- Navigate to the internal storage folder named BUSSID.
- Open the Mods folder inside the BUSSID directory.
- Paste the file here.
Activate in Game:
- Open Bus Simulator India.
- Go to the MOD section on the main menu.
- If the mod isn’t showing, tap Import and select the file from your storage.
Use the Mod: Go to your Garage, scroll through your vehicles until you find the new mod, and tap Use.
Purchase Mod
Troubleshooting Tips -
- File Extension: Ensure the file ends in
.bussidmod. If it’s a.zipor.rarfile, you must extract it first to get the actual mod file.
- Folder Missing: If you don’t see a “BUSSID” folder, you may need to create it manually in your device’s “Documents” or main storage area after running the game at least once.
- Restart: If the vehicle doesn’t appear in the garage immediately, try restarting the game.